Call us/Appelez-nous (514) 222-4956

1. If you are mounting the Giga Mount on drywall and do not have access to strong fixation points like studs, you should use the drywall anchors. If not, you can use the screws directly.
2. To accurately mark the mounting holes on your wall, use the screws in the kit
Insert the screws in the 2 holes on the giga mount body.
3. Place the giga mount against the wall where you want to mount it
4. Lightly press on the screws so that they make a small indentation on your wall: now you have perfect alignment for when you place your drywall anchors
5. Remove the giga mount from the wall and pre-drill the two marked holes with a 1/8 in drill bit.
6. Use a Philips head screw-driver to screw in the drywall anchors.
7. Place the giga mount body on the wall, aligning it with the drywall anchors. There is a slight recess in the back of the mount that will fit over the anchors to help alignment.
8. Using square screwdriver, insert the screws into the giga mount and drywall anchors. Tighten until you encounter medium resistance and hear some friction sounds.
Place the screw caps on the rectangular slots for the screws. Push them in.
9. Insert the top shelf on the giga mount by aligning the shelf pins with the top of the giga mount and pressing the shelf in.
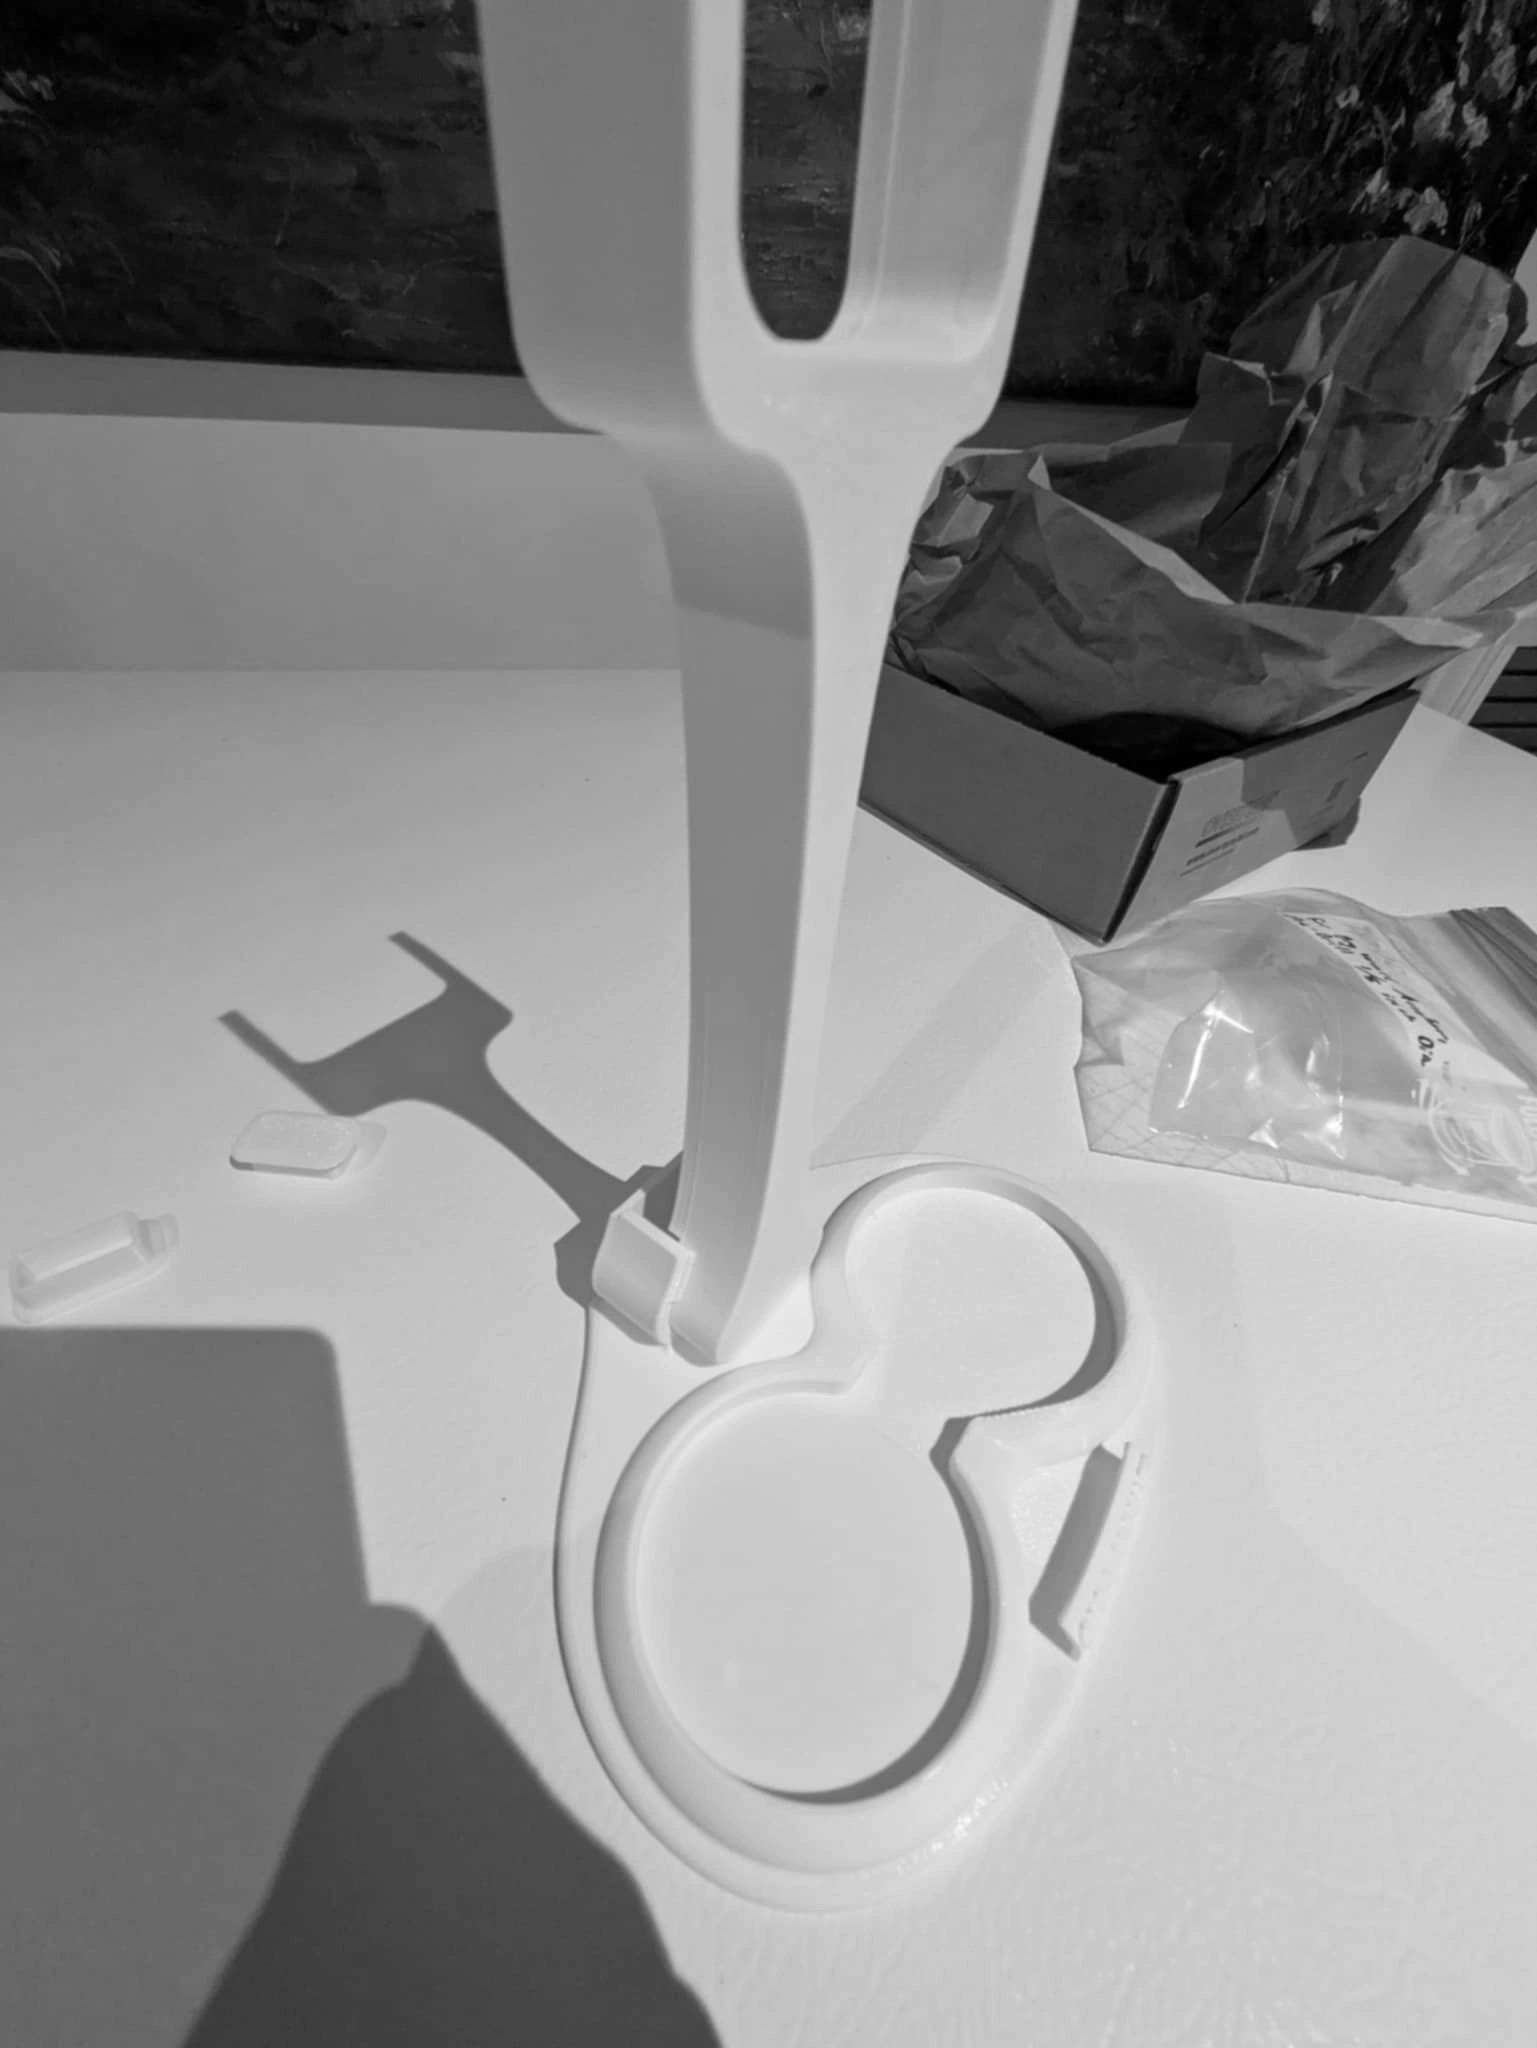
10. Clip on the suspender arm with the cup-holders plate
Install the suspender arm on the giga mount, securing it with the dowel pin.
11. To place your guitar on the giga mount, simply insert it at an angle and twist it back into position. The top saddle should remain above the mount hooks. This is a 3 point support “squeeze-on’ technology. Your guitar is gently supported from the sides of the neck and back of the head, instead of the head curves.
Giga Mount 1.0 (Beta) Step by Step Installation Pictures